Some planes have mechanical adjusters to help with the alignment of a blade in the plane’s body. Some planes have none and rely upon slight taps with a hammer. Laterally adjusting an iron can be a tricky task for the newly initiated. Efficiency with this skill is acquired only with time and attempts.
Becoming proficient with setting one plane certainly helps with the process needed for others. Once you become adept at setting the iron for a plane with no adjustment mechanism, for example, you will likely include slight taps of a hammer with those that do. No two planes, however, are exactly the same to set and adjust: some planes have more play in their adjusters while others have no adjuster and a wedge that braces the iron more or less firmly than the average.
Every time, with every plane, the depth of cut must be addressed each time the plane is disassembled for sharpening. Additionally, each time you take the iron out of any plane you must laterally adjust the plane’s iron to be in line with the plane’s sole, right?
No, actually. I sharpen the profile of my side escapement irons so that there is no lateral adjustment necessary, only depth of cut. How is this possible? I grind my irons so that when the plane’s iron is pressed firmly against the blind side of the plane’s body (the side of the plane that the shaving is not ejected from) the iron’s profile is directly in line with the profile of the plane’s body.

When I set the iron for my #18 I just push the iron firmly against the left side of plane body with my fore finger. Everything falls right in line.
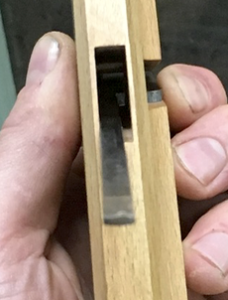
The same principle applies to setting up my 10s: push the iron firmly against the blind side.
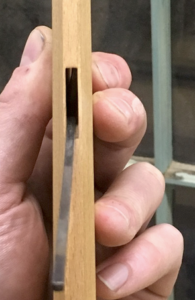
The 2s? Same thing.
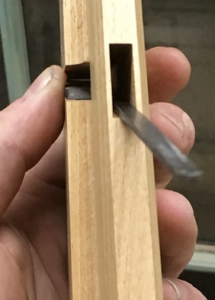
Even left handed planes or, in this case, a snipes bill plane sets up with the same process.
My purpose of spending the time to profile the planes in this manner may not be apparent if you only have one or two planes that you use. After all, you will only need to remember that plane A’s iron is centered at the top while touching the blind side at the bottom while Plane B’s iron is very different and if you get it wrong you’ll figure it out.
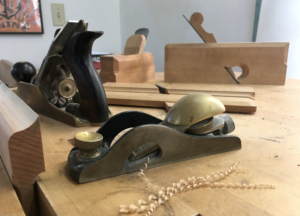
When you have several planes, however, your opinion will change. It is nice knowing that every single plane in this picture is laterally set in the exact same manner: You just push it against that blind side and everything is in line.
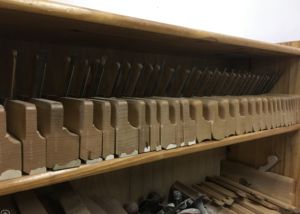
There is no fuss in aligning the two profiles here, there, or anywhere.
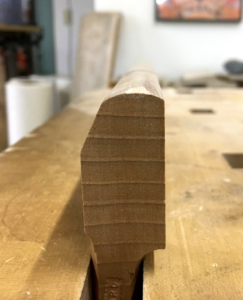
Keeping the plane this way, of course, is up to the user.
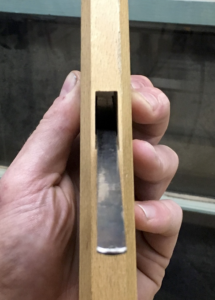
My rabbet planes, despite having square soles with square irons, are slightly more tedious to set up than any other planes that I make. They are the only planes that have the iron floating in or near the center of the mortise.
Though every plane you will own from various manufacturers has it’s own feel, I go out of my way to make certain that each plane works in the same manner as its mate and every other plane in its set. The irons all set the exact same way.
Finally, due to the graduating widths of the irons; the mortise, wedge and tang increase in size similarly. This ensures that the same strike of an adjusting hammer will advance the iron a similar amount, regardless of the plane’s size.
I dare say that these planes are easier to set up than most.
